Tarpaulin Materials,Tarp Material,Fabric Tarp,Pvc Tarpaulin Material Livite(wuxi) High Polymer Material Co., Ltd , https://www.livitehp.com
Sure! Here's the rewritten content:
---
French seams are an incredible technique for giving your garments a polished look from the inside out. Not only do they provide a professional finish, but they're also incredibly straightforward to execute without needing any specialized tools or stitches. If you haven't tried French seams before, you can easily learn how to do them with the help of a handy tutorial available right here.
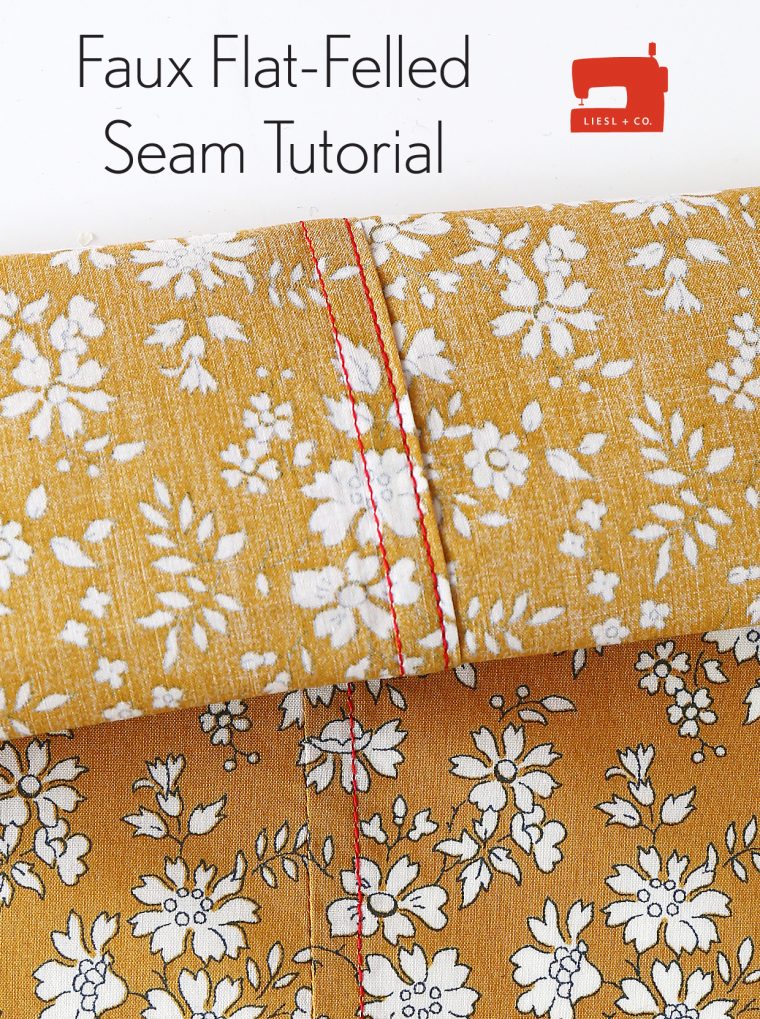
Another fantastic method worth exploring is what I like to call the faux flat-felled seam. While technically it’s just the underside of a flat-felled seam, it’s particularly well-suited for projects like shirts, where you'll often see it used to create clean, flat seams. This approach is just as simple as working with French seams and is a perfect way to finish the seams on our Liesl + Co Classic Shirt sewing pattern. Here's how you can achieve this look.
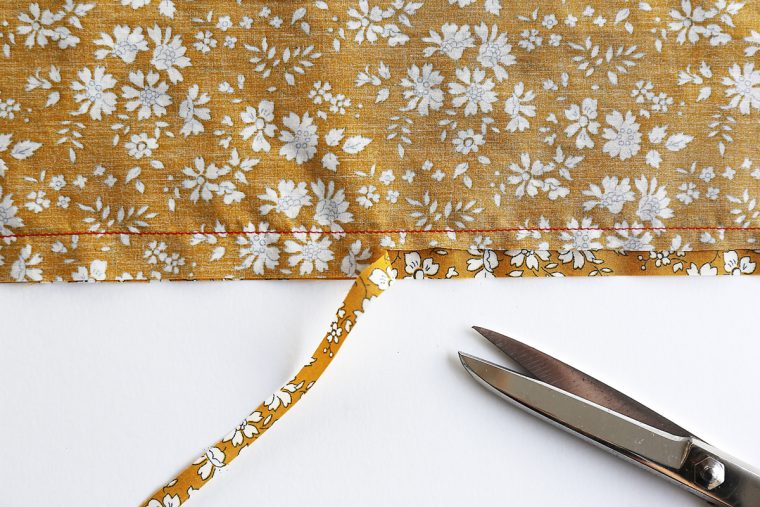
To begin, sew your seam as usual with the fabric’s right sides facing each other and maintaining the standard ½-inch seam allowance. After stitching, trim the rear seam allowance down to approximately half its original width—trust your instincts here, using the remaining front seam allowance as a guide. As long as you’re cutting roughly halfway through, precision isn’t critical.
Next, press the seam allowances open to ensure an even distribution along the entire seam. This step helps avoid unwanted creases or folds on the visible side of the seam. Following that, fold both seam allowances toward the front of the shirt so the shorter seam allowance sits on top.
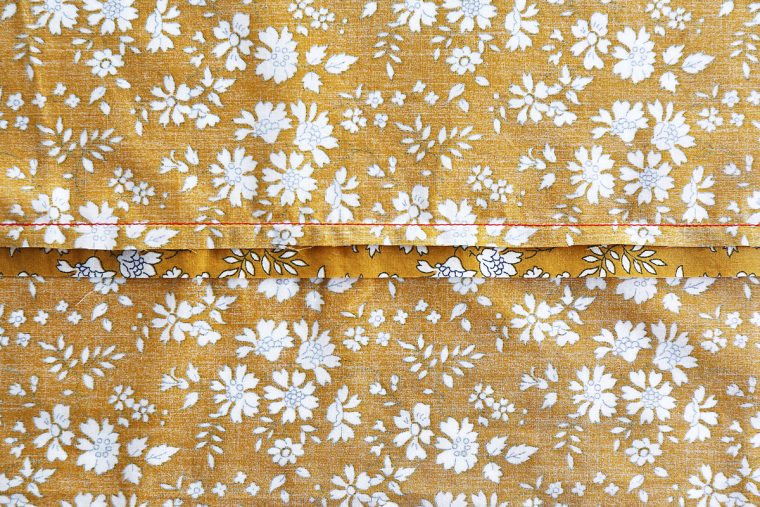
Now, fold the lower seam allowance up and around the upper one until it aligns with the seam line. Applying plenty of steam during this process will help set the crease properly.
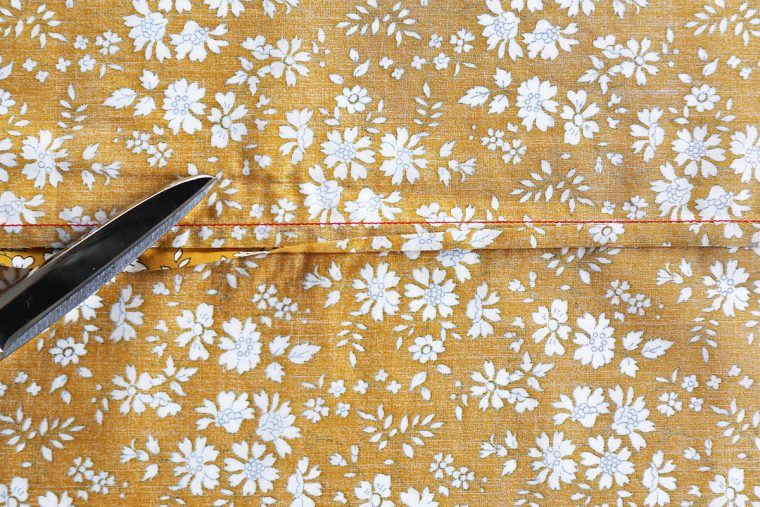
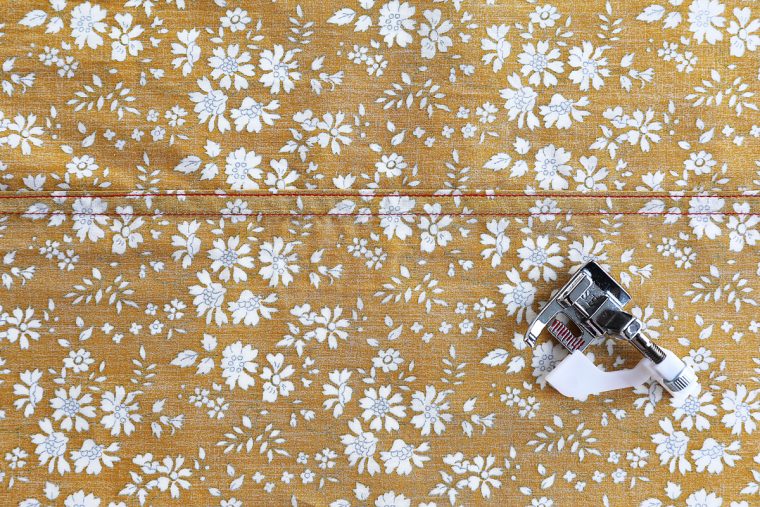
Gently flip the pressed seam allowances over to the opposite side of the seam line and press again. At this point, the wider seam allowance that was originally underneath should now sit above and fully cover the shorter trimmed seam allowance. Finally, topstitch along the folded edge of the seam allowance to complete the look. An edgestitching foot can make this last step much easier.
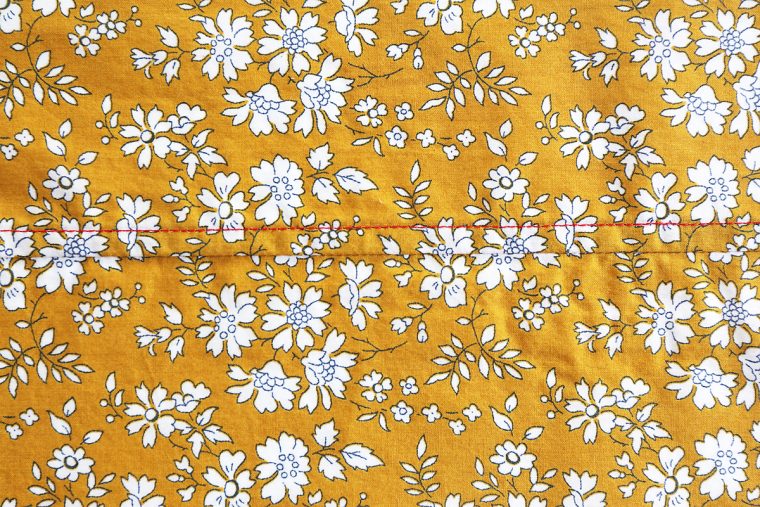
When finished, the interior of your shirt will feature two rows of seams, while the exterior will display just a single, seamless appearance.
And there you have it! Using this technique will result in beautifully finished shirts. For an added touch, consider applying it to the armholes of the Classic Shirt for a tidy conclusion. I'm confident you'll discover additional applications for this method!
---
I hope this updated version captures the essence of the original while presenting it in a fresh light!
June 06, 2025